How to Upload Bulk Products to WooCommerce
Managing an online store can be a breeze, but adding products one by one can become a time-consuming chore. Luckily, WooCommerce, the popular WordPress eCommerce plugin, offers a built-in product importer to upload your products in bulk – saving you precious time and effort. This guide will walk you through how to upload bulk products on WooCommerce stores like a pro, whether you’re a seasoned store owner or just starting out.
Why Upload Products in Bulk?
There are several reasons why you should upload bulk products on the WooCommerce store:
- Save Time: Adding products individually can take forever, especially for large inventories and e-commerce operations. Bulk uploading lets you add numerous products at once, freeing up your time for other business tasks.
- Reduce Errors: Manually entering product details can lead to typos and inconsistencies. Uploading a pre-prepared CSV file minimizes errors and ensures consistency across your product listings.
- Easy Updates: Need to update product information for multiple items? Bulk uploads allow you to modify pricing, inventory, and other details for a group of products simultaneously.
Before You Upload Get Your Data Ready
Before diving into how to upload bulk products on WooCommerce, you’ll need to prepare your product data in a specific format. Here’s what you’ll need:
- Spreadsheet Software: Microsoft Excel, Google Sheets, or any spreadsheet program you’re comfortable with will work.
- Product Data: Gather all the details you want to include for each product listing, such as:
- Product Title (clear and descriptive)
- Product Description (highlights features and benefits)
- SKU (unique product identifier)
- Regular Price and Sale Price (if applicable)
- Stock (inventory level)
- Product Category (where the product belongs in your store)
- Product Images (URLs or file paths)
- Additional details (optional): weight, dimensions, tax status, etc.
Step-B-Step Bulk Product Upload In Woocommerce
You can hire an e-commerce virtual assistant or follow the below-mentioned steps!
Step 1: Download the Product CSV Import Template
WooCommerce provides a pre-formatted CSV (Comma-Separated Values) template to ensure your data is uploaded correctly. Here’s how to find it:
1. Login to your WordPress dashboard.
2. Navigate to WooCommerce > Products.
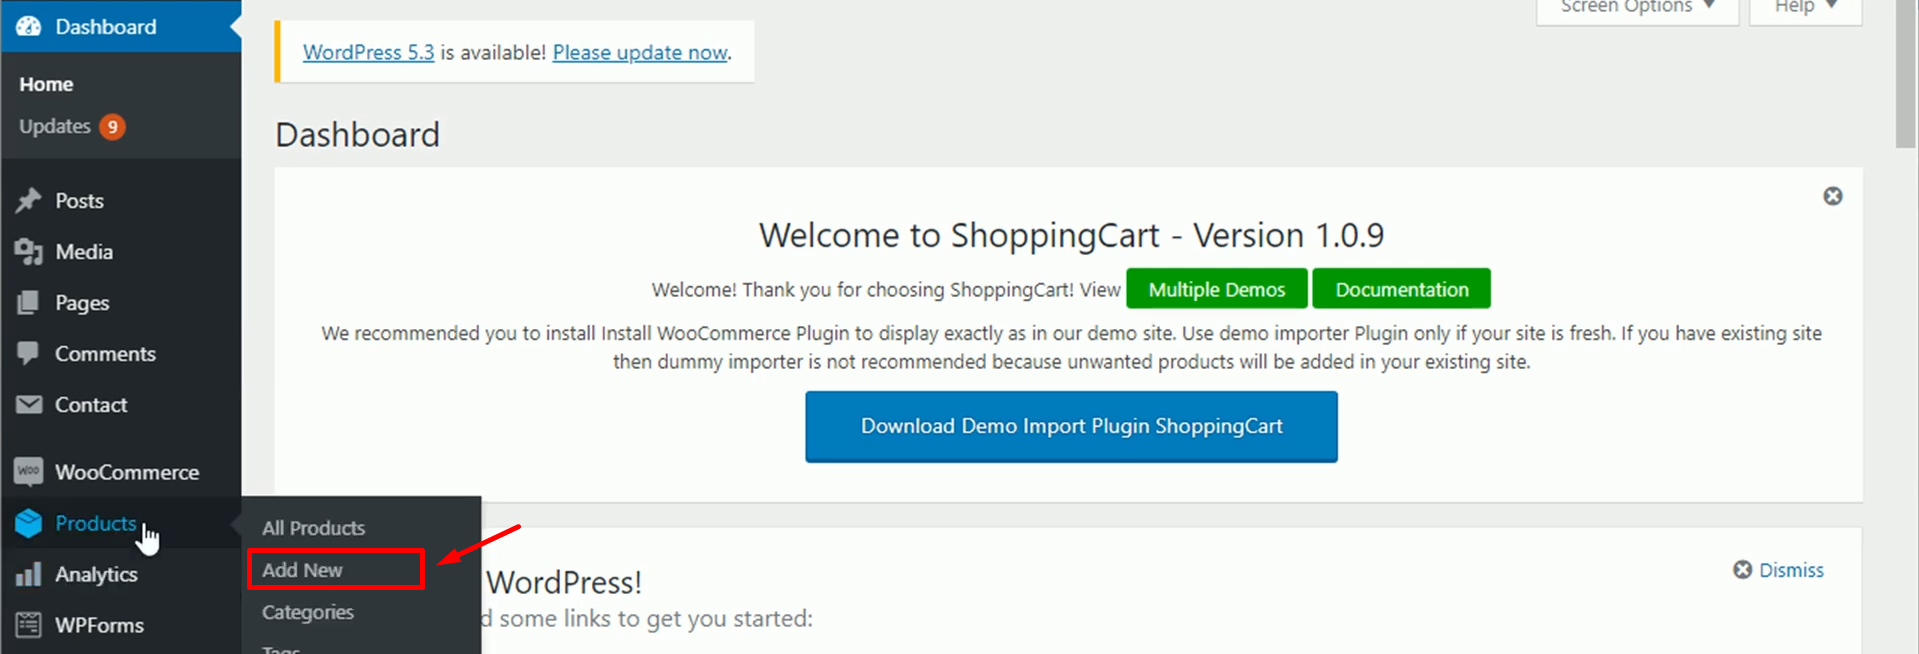
3. Click on Import.
4. Under the “Choose file” section, you’ll see a link to “Download a sample file.” Click on this link to download the product CSV import template.

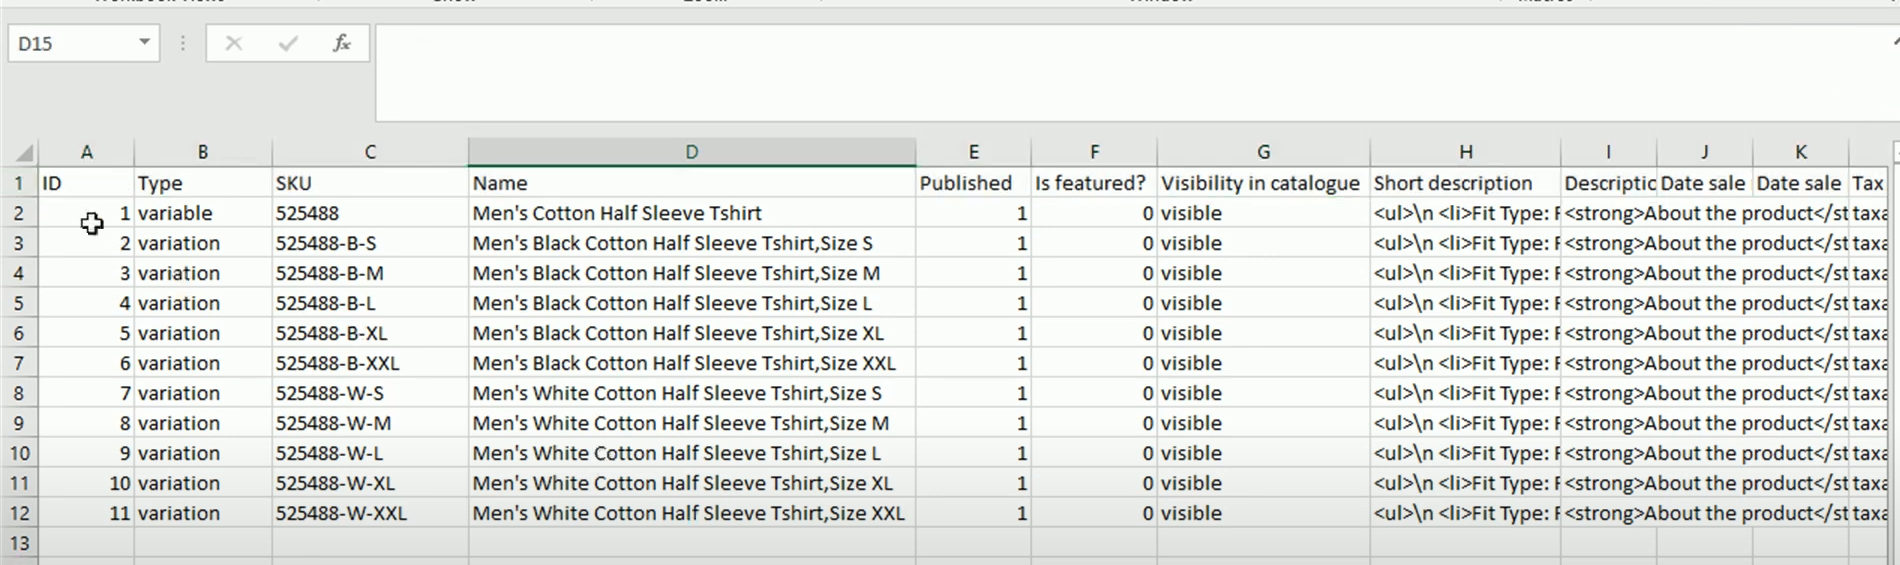
Step 2: Fill Out the CSV Template
Open the downloaded CSV template in your spreadsheet software. Each column represents a specific product detail. This step is necessary for product optimization on WooCommerce.
Here’s a breakdown of some key columns:
- type: This column should be filled with “product” for all product listings.
- SKU: Enter a unique identifier for each product (ideally a combination of letters and numbers).
- Title: Craft a clear and descriptive title that accurately reflects your product.
- regular_price: Enter the regular price of your product (numbers only, no currency symbols).
- sale_price: If your product has a sale price, enter it here (numbers only). Leave blank if no sale price exists.
- stock: Indicate how many units of each product you have in stock (numbers only).
- manage_stock: Set this to “yes” if you want to track inventory levels for this product.
- categories: Enter the category (or comma-separated categories) your product belongs to (these should already be created in your WooCommerce settings).
images: You can include image URLs or file paths in this column to add product images when you upload bulk products on WooCommerce.
Important Note: Not all columns in the template are mandatory. Fill out the essential details for each product, and leave any irrelevant columns blank. If you think this is a very technical step and you will require professional help, hire a virtual assistant.
Step 3: Save Your Completed CSV File
Once you’ve filled out the template with your product data, save the file as a .CSV file. Choose a descriptive name for your file that helps you identify it later (e.g., “Bulk_Product_Upload_July_2024.csv”).
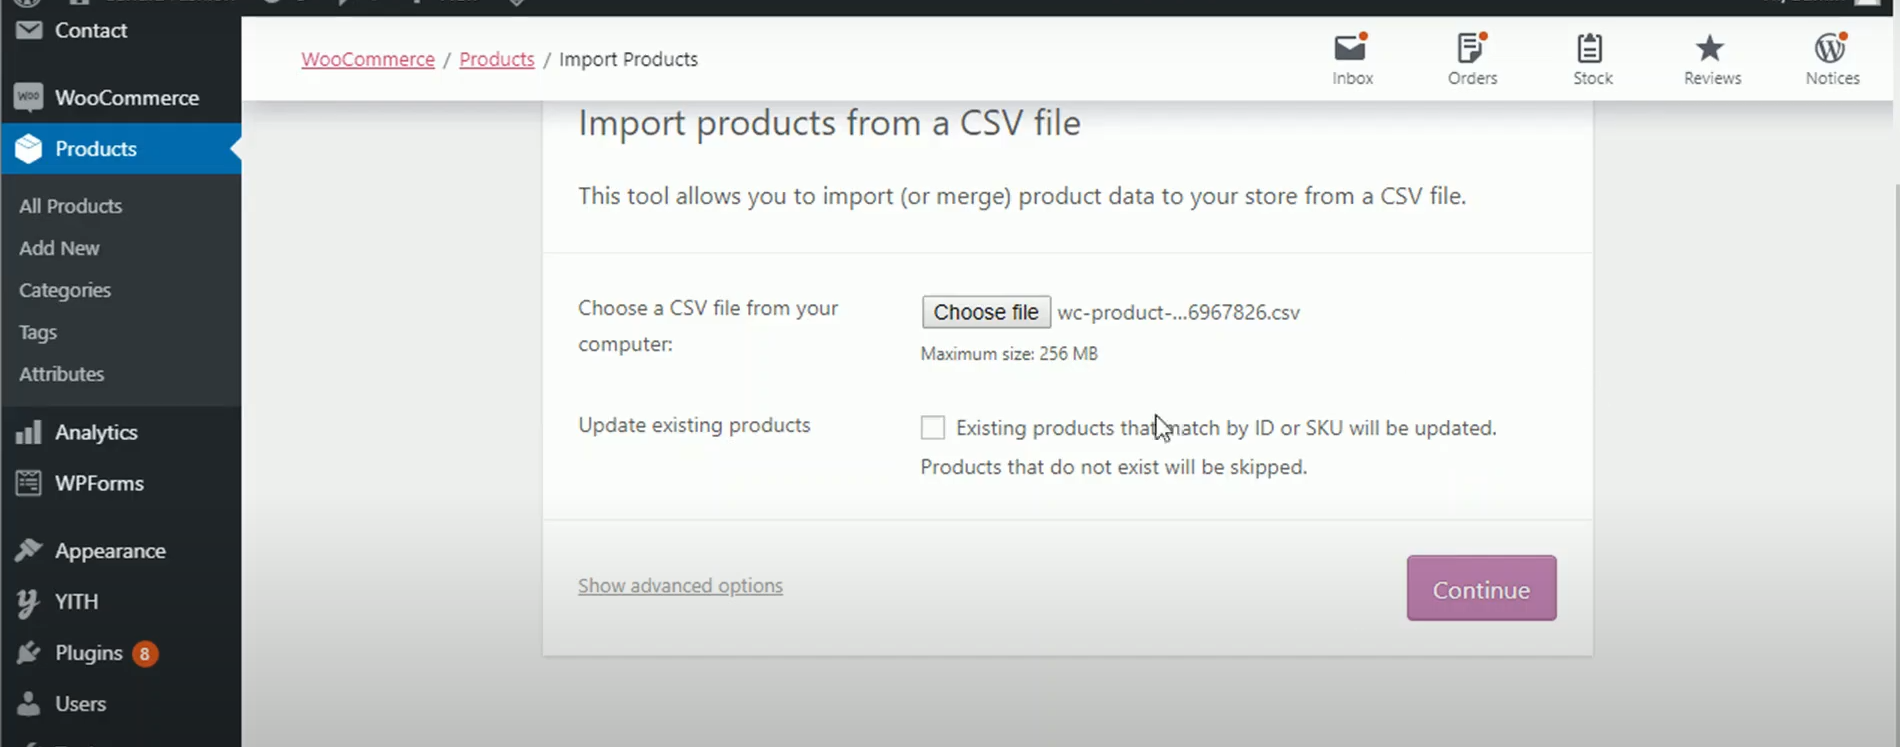
Step 4: Upload Your CSV File to WooCommerce
Now you’re ready to upload your data to your WooCommerce store:
- Go back to the WooCommerce > Products page in your WordPress dashboard.
- Click on Import.
- Under the “Choose file” section, click on “Browse” and select your completed CSV file from your computer.
- Optional: Under the “CSV Import Options” section, you can choose to:
- Update existing products: This will update any existing products that have matching SKUs in your CSV file.
- Identifier: Select “SKU” from the dropdown menu, assuming you used SKUs in your CSV file to identify each product.
- Import Attachments: If your product image URLs point to files on your website, check this box to import them when you upload bulk products on WooCommerce.
Step 5: Validate and Run the Import
Before unleashing the bulk upload magic, it’s crucial to check your data for any errors.
- Click on the “Run the Importer” button. WooCommerce will scan your CSV file and display any errors or warnings.
- Carefully review the errors. Common mistakes include missing required data, incorrect formatting, or duplicate SKUs.
- Go back to your spreadsheet and fix any errors identified by WooCommerce.
- Once you’ve addressed the errors, save your updated CSV file and repeat steps 4 and 5 to upload the corrected version.
Step 6: Celebrate and Manage Your Products!
Once your CSV file uploads successfully, you’ll see a confirmation message in your WooCommerce dashboard. Your products are now live in your store!
- Review Your Products: Take some time to visit your product pages and ensure everything looks accurate and matches your expectations.
- Organize Your Store: With your products uploaded, you can now categorize them effectively and create a user-friendly shopping experience for your customers.
Bonus Tips for Bulk Upload Success
- Start Small: Bulk upload is quite different than when you upload single products. If you’re new to bulk uploads, consider uploading a small batch of products first to test the process and identify any potential issues before uploading your entire inventory.
- Double-Check Your Data: Typos and inconsistencies can cause problems during upload. Proofread your CSV file carefully before importing.
- Keep Backups: It’s always a good practice to maintain backups of your product data in case of any unexpected issues.
- Utilize Available Plugins: Several plugins extend WooCommerce’s functionality and enhance the bulk upload experience. Explore options like WP All Import or WooCommerce Product CSV Importer for additional features.
By following these steps and keeping these tips in mind, you can leverage the power of bulk uploads in WooCommerce to streamline your product management and save valuable time. Now you can focus on what truly matters – growing your online business and reaching new customers!